Groups are one of the most important CRM organization tools in the system. They let you classify customers without splitting them into duplicate accounts.
Build the reusable group structure first so the team is assigning from a controlled list instead of inventing new labels ad hoc.
What groups are for
Dealer tiers and pricing programs
Territory or account type rollups
Campaign recipient targeting
Saved filters and list-building
Discount rule coverage when pricing is group-based
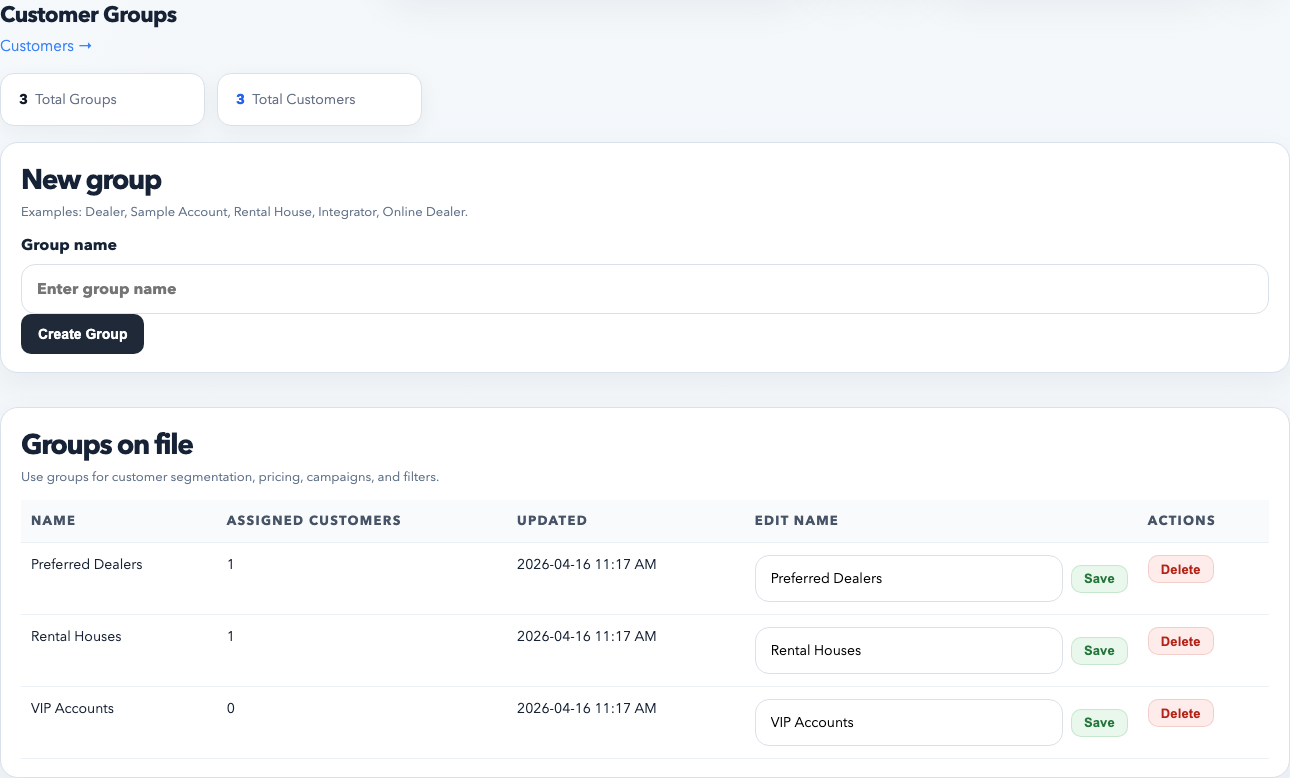
How to create a group
Open Customers.
Open the group management area from the customer tools or setup path your workspace uses.
Create the group name clearly. Use names that staff can understand without explanation, such as Preferred Dealers, Rental Accounts, or Southeast Accounts.
Save the group.
How to assign groups to customers
Open a customer record.
Edit the customer.
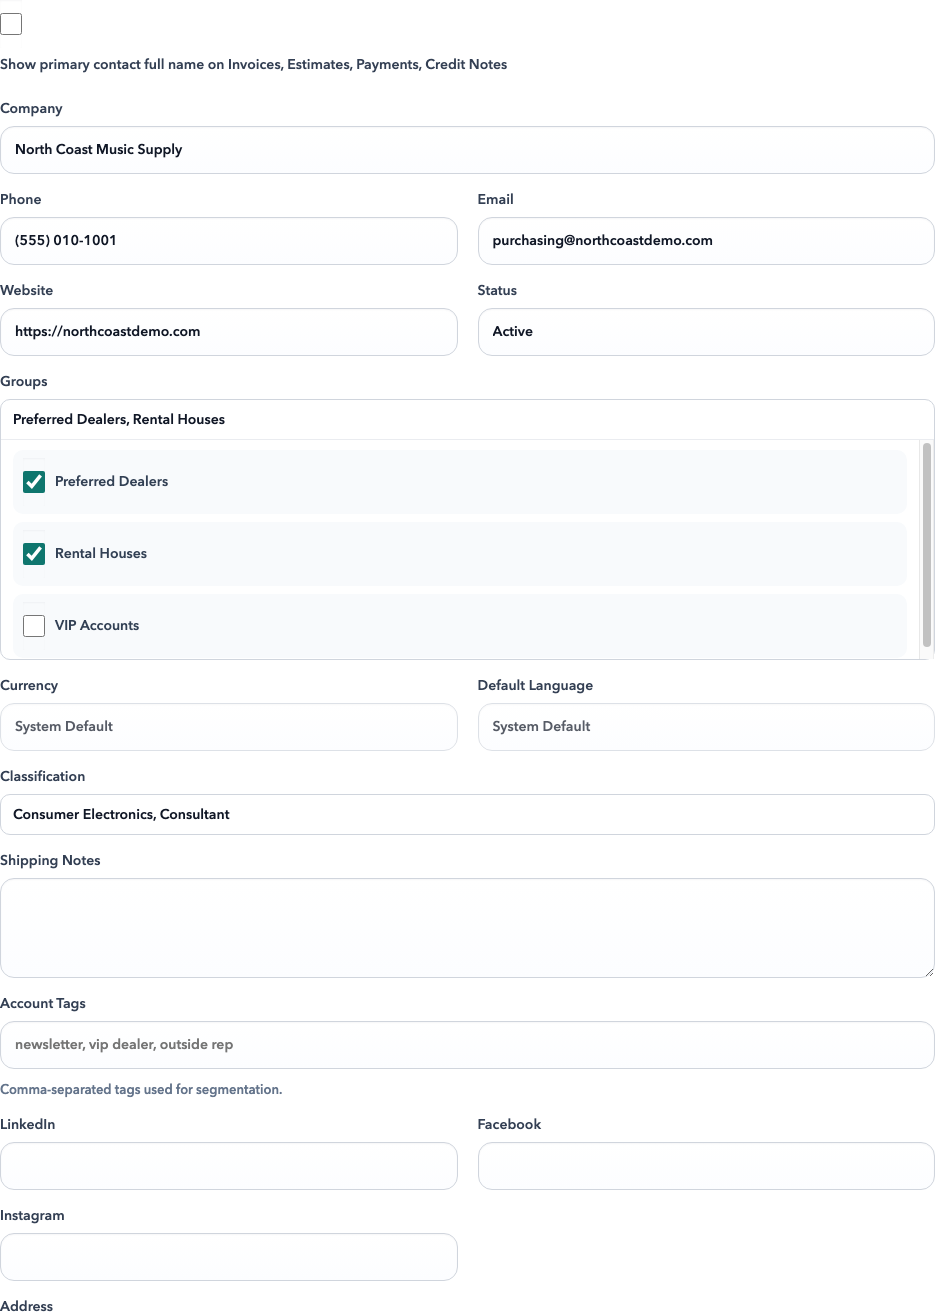
Select one or more groups.
Save and confirm the group chips appear on the customer row or detail page.
Use the customer profile group picker to attach one or more groups to the account. This is the clean way to drive saved filters, reporting, and pricing logic.
How to bulk-assign groups
Filter the customer list to the accounts you want.
Select the matching rows.
Use the bulk edit or bulk action tool.
Apply the chosen group carefully and save.
Warning: when using bulk group tools, read the prompt closely. Some bulk actions replace group assignments instead of simply adding to them.
Best practices
Keep group names stable. If people keep renaming groups, saved filters and internal language get messy.
Use groups for business classification, not notes. Notes belong in notes fields, not in group definitions.
Prefer a small set of durable groups over dozens of one-off labels.
Common mistakes
Creating a new group when an existing one already means the same thing.
Using groups and classifications inconsistently across the team.
Removing all groups accidentally during bulk edits.